How to Set Up Modules for Your Course in Canvas
How To Create and Put Content into Modules
Using modules in Canvas provides a fast, easy way to organize your course using predictable course design so that your students always know where to find what they need. While Blackboard had a folder structure, Canvas uses modules as a way to organize content. If you imported your course content from Blackboard you may now find that it has been presented now as modules. To see more detailed help guides about Modules, click the Instructor Help link above.
To build your course content using modules:
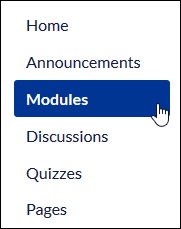
- In the Course Navigation menu, click the Modules link.
- Click the
 button at the top right to add a new module.
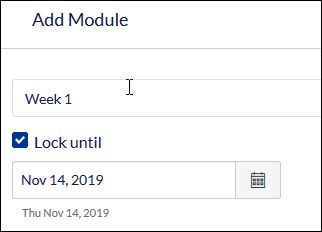
 - In the pop-up window, give your new module a name (such as “Module 1” or “Week 1” or “Readings”). You may select the “Lock until” box to enter a date after which this module will become visible to students.
- To add content to your module (such as course readings, PowerPoint presentations, or Canvas Pages) click the
 to the right of the module’s name.
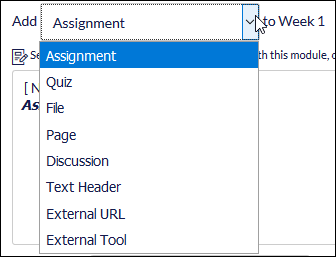
 - Use the drop-down menu to select the type of content you would like to add to this module. If you want to upload a document from your own computer, select File.
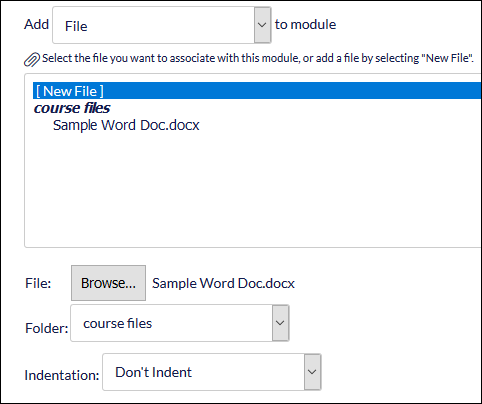
- If the file you want to add to your module has already been uploaded to your course, it will display in the window. If you have not yet uploaded the file you want to add to your course, choose [New File].
- Select either the previously-uploaded file you want to add to the module and click Add Item or click [New File] and then the Browse button to find the file located on your computer, then click Add Item. Note: The Folder dropdown that appears when uploading a new file refers to the content folder in your Canvas course.
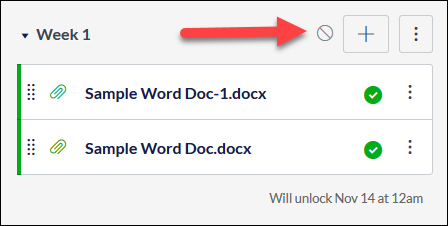
- When new items are added, they are automatically given Published status. However, if the Module is not published, these items will not be visible by students. To publish your module so that students can see it (even if you have it set to remain locked until after a particular date/time), click the
 . This will change the icon to
  indicating that the module is now published. You can unpublish it by clicking this icon again.
- Make sure the Modules link in the course menu is visible to students. (A
 icon indicates that a menu item is not visible to students. See the Course Navigation tutorial to learn more about organizing your course menu.)
Many more types of content can be added to modules. For more in-depth information and step-by-step tutorials on using modules, use the Instructor Help tab at the top of the page.
Modules Help for Instructors
Creating and Managing Modules
- How do I use the Modules Index Page?
- How do I add a module?
- How do I move or reorder a module?
- How do I publish or unpublish a module as an instructor?
- How do I edit a module?
- How do I delete a module?
- How do I duplicate a module?
- How do I lock a module?
- How do I use modules to view the progress of students in a course?
- How do I add prerequisites to a module?
- How do I add requirements to a module?
Adding Content and Other Items to Modules
- How do I add course content as module items?
- How do I add a text header as a module item?
- How do I add an external URL as a module item?
- How do I add an external tool as a module item?
- How do I edit module items?
- How do I duplicate a module item?
- How do I remove module items?
- How do I move or reorder a module item?
- How do I view course content offline as an HTML file as an instructor?
Using Modules with Mastery Paths
- How do I add conditional content to a MasteryPath source item?
- How do I allow a page to be a MasteryPath module item?
- How do I use MasteryPaths in course modules?
- How do I assign a conditional assignment for students to complete in MasteryPaths?
- How do I view the MasteryPaths range breakdown results for an assignment?
